Curtain Installation Guide
Curtain installation is an essential step in home decoration, influencing both functionality and aesthetics. Proper installation ensures effective light control, privacy, and style. This guide provides an overview of curtain installation methods, tools, and techniques for different curtain types.
1. Adjustable Pin Hooks for Pinch Pleat Drapes
Tools & Materials: Tape measure, level, pencil, ladder, screwdriver, pleated curtain panels, adjustable pin hooks, drapery rings, and a rod with rings.
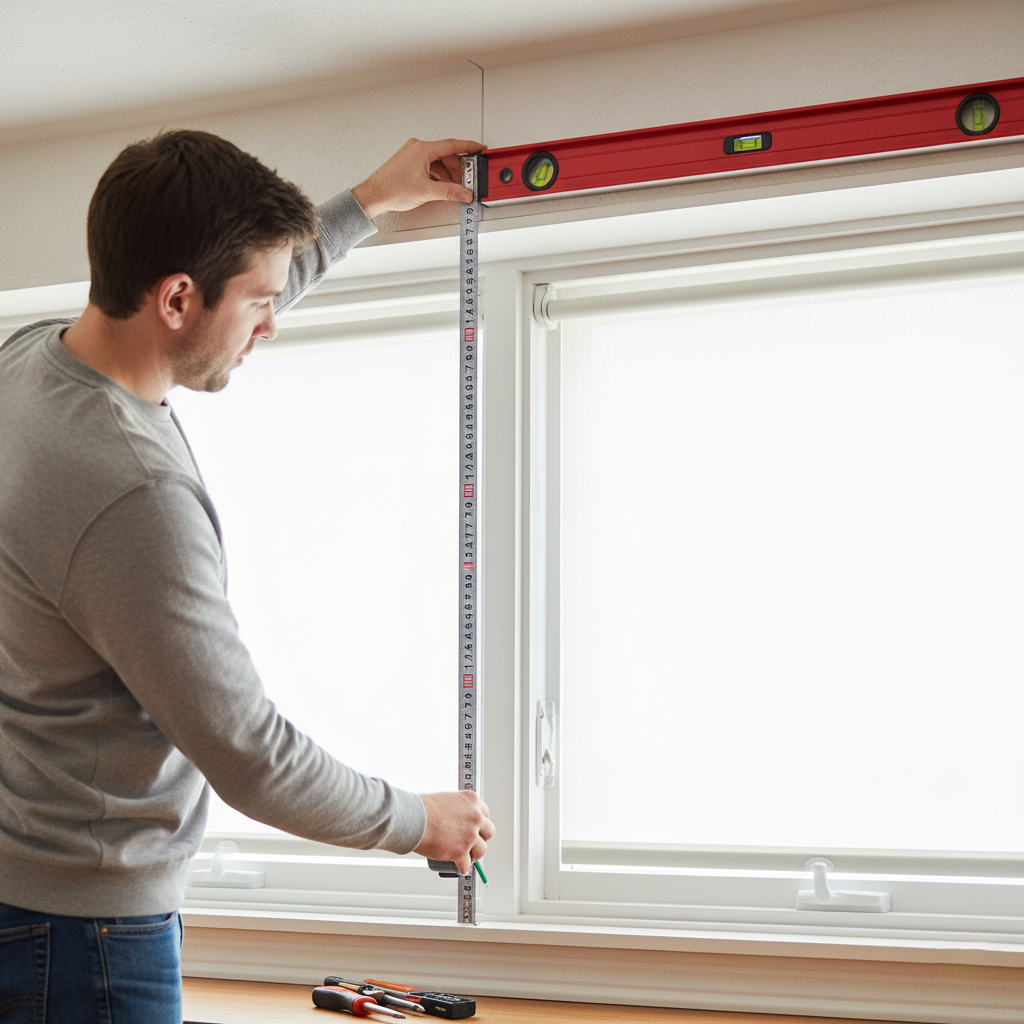
Step 1 – Measure and Mark Rod Placement
Determine the finished length by adding window height, header allowance, and clearance from the floor. Mark a straight line about 1½″ above the desired panel drop using a level.
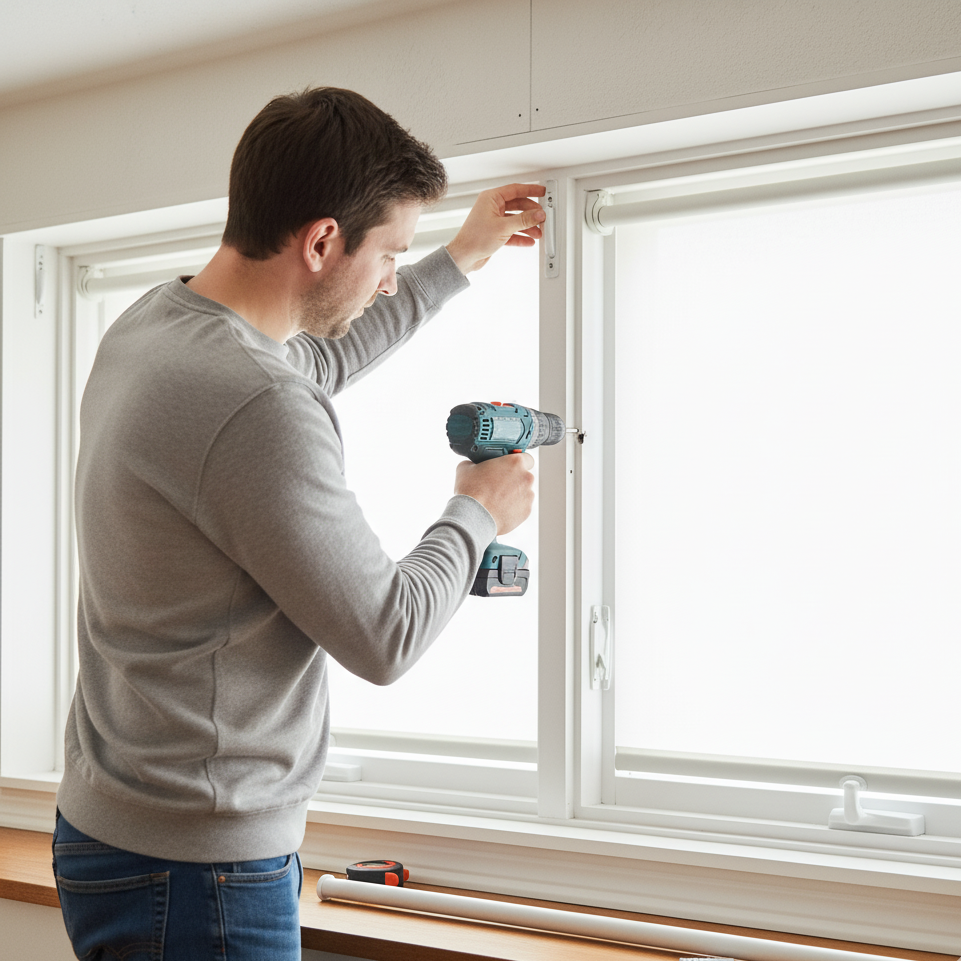
Step 2 – Install Brackets and Rod
Drill pilot holes at the marks, insert wall anchors if necessary, then fasten brackets securely. Place the rod into the brackets and lock it in position.
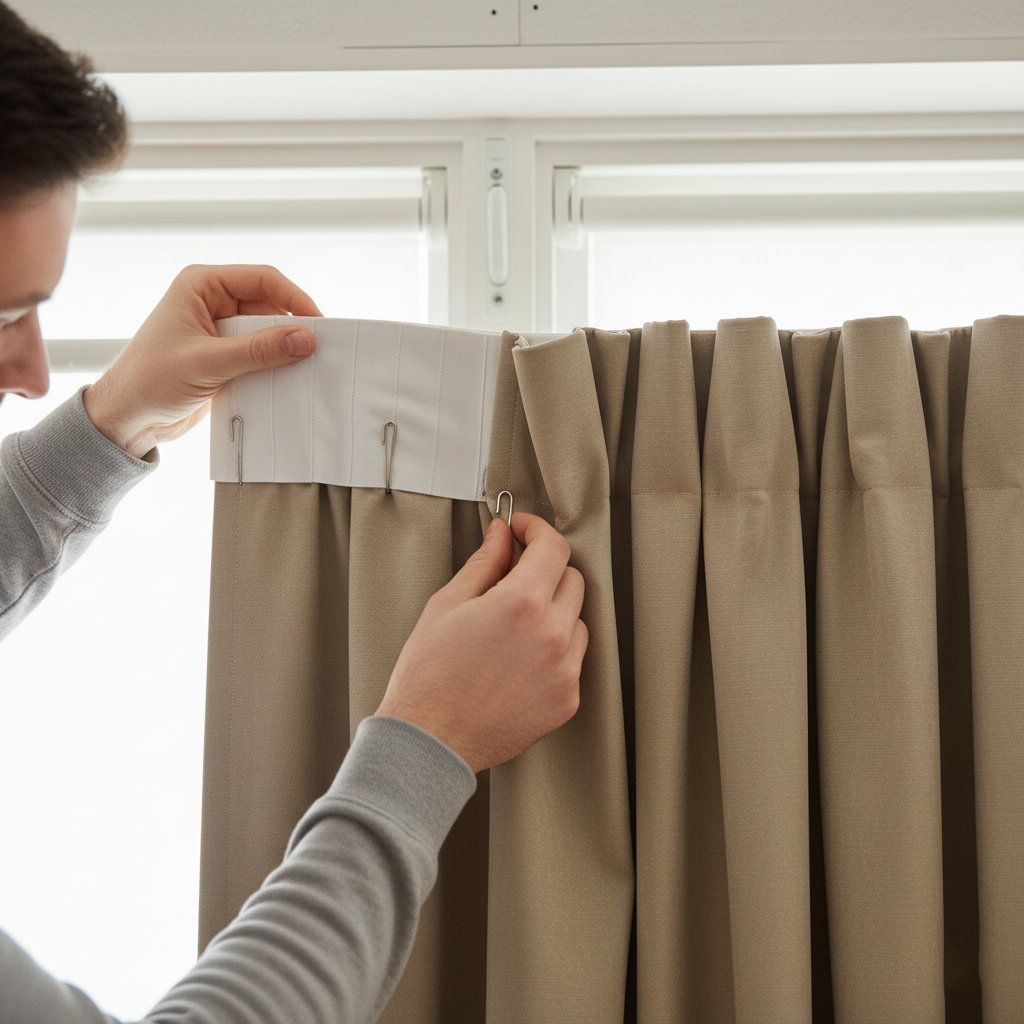
Step 3 – Position the Pin Hooks
Insert adjustable pin hooks into the pleat tape at the top of each pleat. Set the hooks approximately 1″–1½″ deep to achieve consistent drape fullness.

Step 4 – Hang Curtains on Rings
Attach the hooks to the drapery rings, keeping them evenly spaced about 3–4″ apart. This provides a full, balanced look, typically 2–2.5× the window width.
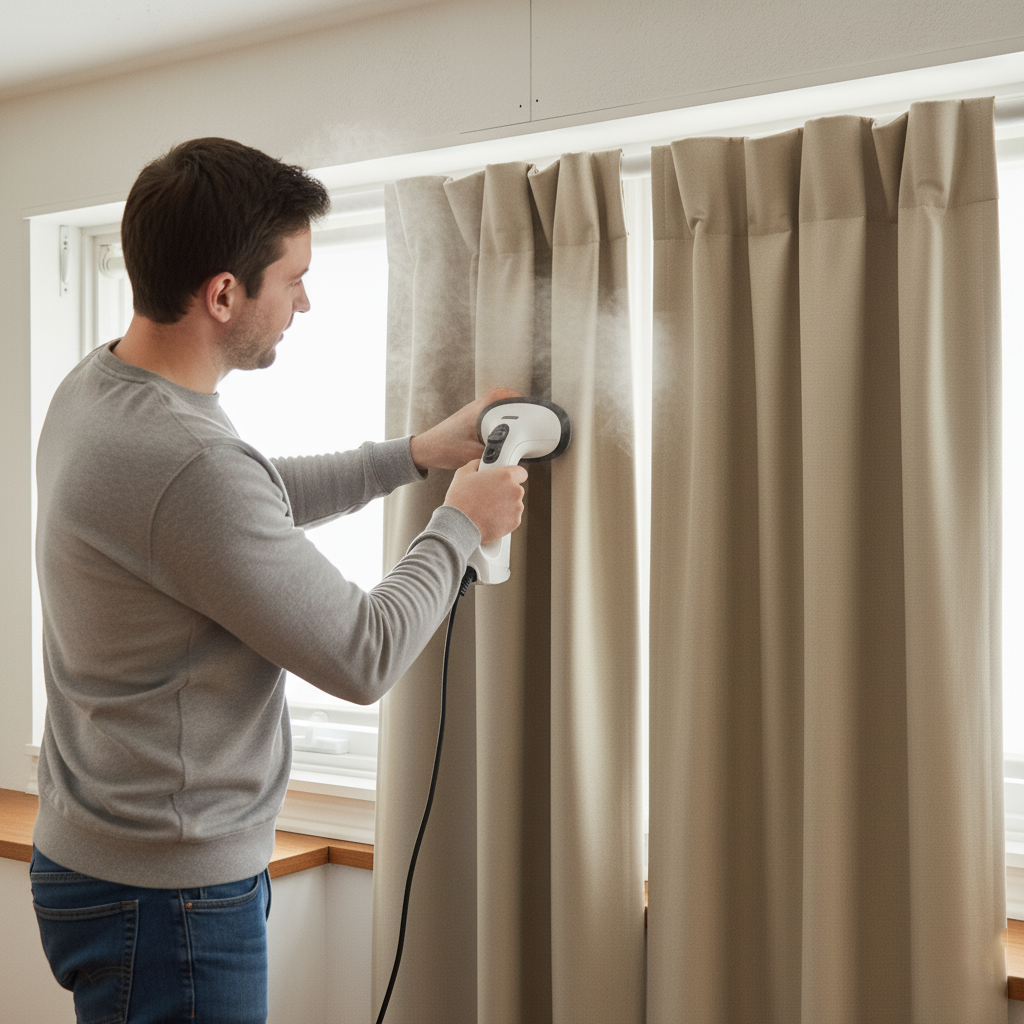
Step 5 – Final Adjustments
Arrange the pleats neatly along the rod. Use a steamer or iron to remove wrinkles and give the drapery a crisp, tailored finish.
2. 4-in-1 Header Options
Materials Needed: Drapery panels with 4-in-1 header tape, metal hook belt (provided), optional clip rings, rod rings, and back tabs.
Hook and Ring Method: Place the metal hooks into the third row of tape pockets, then attach them to the drapery rod rings.
Clip Ring Method: Fasten clip rings onto the header tape just above the second pocket and hang directly on the rod.
Rod Pocket Method: Thread the curtain rod through the 3-inch pocket at the top of the panel.
Back Tab Method: Insert the rod through the sewn back tabs for a sleek, tailored appearance.
3. Hanging Different Pleat Header Styles
Pinch Pleat / Tailored Pleat: Hang the panels using adjustable pin hooks for a structured look.
French Pleat / Goblet Pleat / Inverted Box Pleat: Insert metal S-hooks into the eyelets on the header and attach them to the rod rings.
Pinch Pleat with Back Tab: Combine standard pin hooks at each pleat with back-tab support for added stability.
Pencil Pleat: Space wave-fold hooks evenly along the header tape and hang them on rod rings for soft, uniform folds.
4. Ripple Fold Drapery Installation – Using Tape-Buckle Track
Tools & Materials: Pre-loaded track with carriers, tape buckles, mounting brackets with screws, wall anchors, pencil, level, drill, screwdriver, and a ladder.
Step 1 – Unpack and Check Components
Ensure all parts are included: track, carriers, tape buckles, brackets, screws, and anchors.
Step 2 – Mark Track Height
Measure the panel length and add 1½″. Use a level to mark a straight line for bracket placement.
Step 3 – Connect Track Sections (if required)
Loosen splice screws, align track ends tightly, then re-secure the screws.
Step 4 – Install Brackets
Position end brackets 3–4″ from each track end and space additional brackets no more than 24″ apart. Drill pilot holes, insert anchors if needed, and fasten brackets securely.
Step 5 – Mount the Track
Loosen the bracket plates, set the track in place, rotate the plates 45° to lock, then tighten all screws.
Step 6 – Remove Spacers and Test Carriers
Take out foam spacers, peel off tape liners, and slide carriers to ensure smooth movement.
Step 7 – Hang the Panels
Snap the first two fasteners onto the master carriers, insert the pre-snapped pendants into the carriers, and secure the last snap to the end cap.
Step 8 – Form the “S” Folds
Starting at the master carrier, push the fabric back across two carriers, then forward across the next two, repeating until uniform 4″ waves are formed.
Step 9 – Install Returns (Optional)
Attach a small screw into the wall, insert a tenter pin, and hook the return panel for a clean, finished edge.
5. Shades Installation Guide
1. Cordless Roman Shades – Inside Mount
Tools & Materials: Cordless shade, mounting brackets with screws, wall anchors, drill, screwdriver, pencil, and level.
Step 1 – Measure and Mark
Ensure the window frame depth is at least ¾″. Center the shade and hold the headrail flush with the top of the frame. Mark bracket positions.
Step 2 – Drill and Mount Brackets
Pilot-drill 1/8″ holes, insert anchors if needed, and fasten brackets securely.
Step 3 – Attach Headrail
Snap the headrail into the brackets until it clicks, confirming it is level.
Step 4 – Test Operation
Raise and lower the shade to verify smooth functionality.
2. Cordless Roman Shades – Outside Mount
Follow the inside mount steps, but mount brackets on the wall above the window frame before clipping in the headrail.
3. Cordless Roman Shades with Wooden Headrail
Align and Mark: Position the headrail in the frame or on the wall using pre-drilled notches and mark screw locations.
Drill and Secure: Pilot-drill into wood and frame, then attach brackets to the headrail.
Clip and Tighten: Snap the headrail into the wall or ceiling brackets and secure with wing nuts.
4. Cord-Lift Roman Shades – Inside & Outside Mount
Install brackets and headrail as with cordless shades. Then install a cord cleat: position it at a safe height (≥5′), mark, pilot-drill, and screw to the frame. Wrap cords neatly when the shade is closed.
5. Cord Cleat Installation
Attach Bead Chain: Loop the chain onto the cleat prongs at the desired wrap point.
Secure Cleat: Mark, pilot-drill, and screw the cleat to the frame, maintaining recommended child-safety height.
Pro Tip: Measure twice before drilling and always use a level for straight bracket installation. For child safety, secure cords with cleats or choose cordless shades.


