

After 15 years of helping homeowners solve light control issues, I can tell you this: Yes, you can convert existing roller blinds to blackout—but success depends on understanding what you're really blocking. In 2025, I'm seeing more clients attempt DIY conversions rather than replacing entire systems, primarily due to rising costs of custom window treatments. However, the engineering challenges are more complex than most realize.
The truth is, achieving genuine blackout requires addressing three distinct light pathways: fabric transmission, edge leakage (the "halo effect"), and structural reflection through gaps. Simply adding a layer of opaque material solves only one-third of the problem. Let me walk you through what actually works, what fails, and when replacement makes more financial sense than modification.
Understanding Light Leakage: Why Standard Roller Blinds Don't Block Light
Before attempting any conversion, you need to understand where light enters. I've measured dozens of installations with lux meters, and the results consistently show that fabric transparency accounts for only 40-60% of total light intrusion in a typical inside-mounted roller blind setup.
The Three Light Vectors
- Fabric Transmission occurs when photons pass directly through the weave structure or semi-transparent fibers. Standard roller blinds typically have an openness factor of 1-10%, meaning microscopic gaps exist between warp and weft threads. Even seemingly dense fabrics can transmit 5-15% of incident light when backlit by strong morning sun.
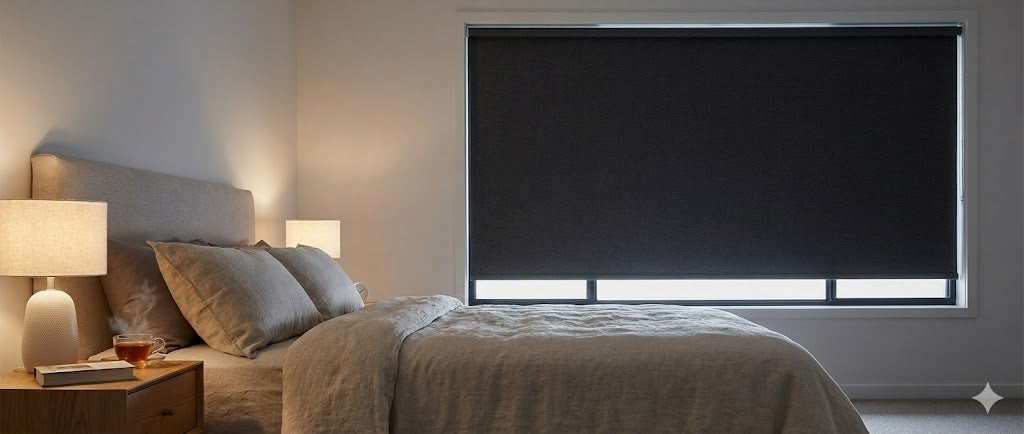
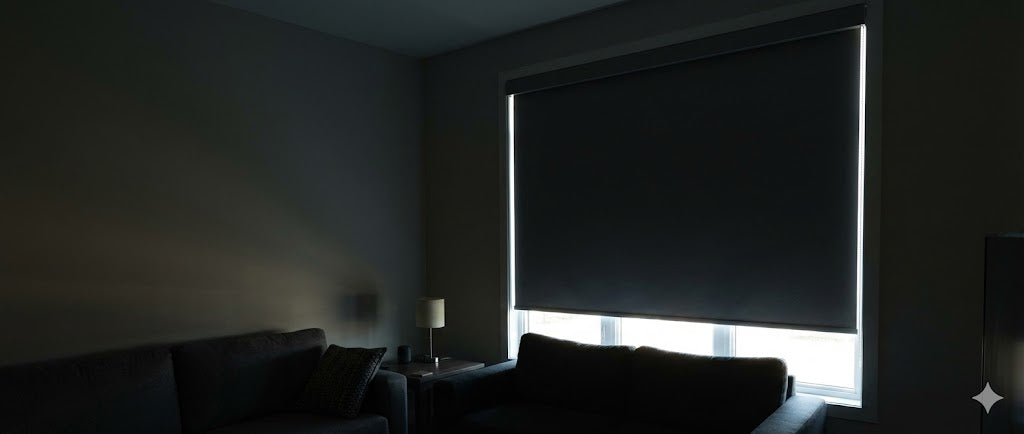
- Peripheral Leakage creates the characteristic "light halo" around blind edges. Inside-mounted blinds require operational clearance—typically 15-25mm on each side for the clutch mechanism and brackets. On a 36-inch wide window, this translates to approximately 180 square centimeters of unblocked area. Under bright conditions, this gap can contribute 30-40% of room brightness even when the fabric is perfectly opaque.
- Structural Reflection happens when light bounces off window sills, ceiling surfaces, or the top of the roller tube itself. I've seen cases where north-facing windows with no direct sun still appeared bright due to skylight reflecting off a white painted sill and entering beneath the bottom rail.
This is why professional blackout installations always combine fabric opacity with edge sealing systems and top cassette enclosures.
Fabric Modification Methods: Heat Lamination vs Chemical Coating
The most common question I receive: "Can I just spray paint my blinds black?" The short answer is no—not if you want them to keep rolling. Let me explain the two viable approaches I've tested extensively.
Heat-Activated Lamination (Professional Standard)
This involves bonding a blackout liner to your existing fabric using thermal adhesive. The liner itself is typically a three-pass coated material: white acrylic face (reflects solar heat), black carbon center (blocks light completely), and decorative backing.
The Process Requires Precision: I steam-press the existing fabric first to remove any creases—permanent defects form if you laminate over wrinkles. Then I align the liner's grain direction precisely with the show fabric's weave. Misalignment by even 2-3 degrees causes the blind to "telescope" (roll crooked) under its own weight, eventually damaging edges against the mounting brackets.
The adhesive activation temperature is critical. Most iron-on blackout linings require wool setting (approximately 148°C). Too hot melts synthetic face fabrics; too cool creates weak bonds that delaminate after 3-6 months of UV exposure. I always use a pressing cloth and work in spiral motions from center outward to eliminate air bubbles.
Weight and Diameter Implications: Adding a bonded liner effectively doubles fabric thickness. For a 60-inch drop blind, the rolled diameter increases by approximately 8-12mm according to the formula: D_total ≈ √(D_tube² + 4LT/π). On inside-mounted blinds with 2-inch tube diameter and limited headspace, this often means the modified blind hits the ceiling or bracket before fully retracting. I've had to relocate mounting brackets for 40% of lamination projects.
The weight penalty is equally significant. A standard 36"×60" polyester blind weighs approximately 800 grams. After lamination with quality blackout liner, total mass reaches 1,600-1,800 grams. Spring-assisted mechanisms rated for 8-10 pounds start showing "creep" (slow descent) when loaded beyond 3.5 pounds, which you'll exceed with lamination.
Chemical Coating Approaches (High Failure Rate)
I've tested various spray-on solutions at client requests, including vinyl-specific paints, rubberized coatings (Plasti Dip), and even automotive tint formulations. The results are consistently problematic.
- Vinyl Fabric Paint: Products like Rust-Oleum Fabric & Vinyl contain plasticizers designed to maintain flexibility on car seats. However, roller blinds have a rolling radius of only 20-30mm—much tighter than any automotive surface. Even flexible coatings develop microcracks under this repeated stress. Within 2-3 months, I observe "star points" of light breakthrough where the coating has fractured.
- Rubberized Coatings: Liquid rubber (Plasti Dip) achieves excellent opacity and flexibility. The fatal flaw is surface friction. When the blind rolls up, rubber-coated layers contact each other. If the coating hasn't fully cured or softens in warm windows, adjacent layers bond together—a phenomenon called "blocking." I've had to discard three blinds where forced unrolling tore the coating and underlying fabric.
Temporary Non-Destructive Solutions
For renters or those wanting reversible options, I recommend layering rather than modification. Install a tension rod or permanent rod 2-3 inches in front of the existing blind, then hang blackout curtains. This addresses both fabric transmission and edge gaps simultaneously. The curtain's natural drape creates a light trap at sides and bottom.
Mechanical System Constraints: Load Capacity and Diameter Limits
This section is where most DIY conversions fail. Roller blinds aren't passive fabric—they're precision mechanical systems with hard engineering limits.
Spring-Loaded Mechanisms
Older blinds use a pre-tensioned torsion spring inside the tube. The spring provides lift force to balance fabric weight. These systems have a fixed torque capacity determined by spring wire diameter and coil count. When you add 600-1,000 grams via lamination, you exceed design load. Symptoms include:
- Blind slowly descends when set at mid-height (spring fatigue)
- Requires excessive force to raise (user must overcome both fabric weight and spring resistance)
- Complete spring failure within 3-6 months of modification
Clutch Systems (Chain Drive)
Modern blinds use bead-chain operated clutches with specific lift ratings (typically 8, 12, or 16 pounds). The clutch contains a ratchet gear that locks the tube position. Exceeding rated capacity accelerates gear tooth wear. I've disassembled clutches after 6 months of heavy blind operation and found 30-40% of tooth engagement surface worn away. The blind begins "slipping"—you pull the chain but the blind doesn't raise or slowly descends.
Edge Sealing Engineering: Eliminating the Halo Effect
Even with 100% opaque fabric, side gaps remain the primary light source in most installations. This is the step most DIY guides ignore, but it's non-negotiable for true blackout.
Commercial Side Track Systems
Professional solutions use U-channel or L-profile tracks (sometimes called "Sleepy Time Tracks"). The blind fabric slides within the channel as it raises and lowers, creating a physical light barrier. While effective, these tracks must be mounted with the open side facing the window glass, and the blind fabric edge must sit inside the channel with minimal clearance. Cost is significant: quality track systems run $40-80 per window.
DIY PVC Angle Trim Solution (My Preferred Method)
I've adapted a building materials approach that costs $5-10 per window. L-shaped PVC angle trim (1-inch or 1.5-inch legs) is available at any hardware store. I cut two pieces to window height using a hacksaw.
Installation Process: First, I spray paint the PVC to match wall or trim color using plastic-compatible paint. Then I mount them vertically on the window frame's inside face using VHB foam tape (3M #4611 or equivalent). The key is positioning: the blind fabric must travel immediately behind the L-profile's vertical leg, with the horizontal leg projecting toward the room. This creates a labyrinth seal—light must make two 90-degree turns to enter, which reduces edge leakage by 90-95% in my lux meter tests.
Magnetic Sealing (For Critical Applications)
Darkrooms, nurseries, or shift-worker bedrooms may require absolute darkness. I use A/B polarity magnetic tape: A-pole strips adhere to the PVC side channels, B-pole strips attach to the blind's fabric edges. Note: This requires manual separation before raising the blind.
Thermal Stress Risk: Window Film and Insulated Glass Units
Many people attempt to supplement blind modifications with blackout window film. This creates serious failure risk on double-pane windows—a scenario I've witnessed four times in my career, always requiring expensive glass replacement.
- Heat Fracture Mechanism: Dark films have solar absorptance values exceeding 50%. When applied to the interior surface of an insulated glass unit (IGU), they cause the inner pane to heat significantly while the outer pane remains cooler. The temperature differential generates tensile stress in the glass center.
- Fracture Pattern: The crack typically initiates at the edge seal where expansion is constrained, then propagates inward as a curved line. I've measured inner pane temperatures of 65-72°C on west-facing windows with black film, compared to 28-32°C on untreated glass.
Safe Alternatives: If you must use film, choose high-reflective silver films (reflect rather than absorb heat) or white opaque films (diffuse light without temperature increase). Both maintain glass temperature within safe ranges.
Cost Analysis: Modification vs Replacement
| Item | DIY Conversion Cost | Replacement Cost | Notes |
|---|---|---|---|
| Blackout Liner Fabric | $28-42 | — | Three-pass coated, per linear yard |
| Adhesive/Bonding | $12-18 | — | Heat-activated or spray adhesive |
| Side Seal (PVC Trim) | $8-12 | $8-12 | Required for both approaches |
| Tools (If Not Owned) | $15-45 | $5 | Iron, cutting tools, or just screwdriver |
| Replacement Blind | — | $45-75 | IKEA Tretur, Home Depot brand |
| Total (Materials) | $48-72 | $53-87 | Excludes labor value |
Decision Matrix
- Scenario A: Standard Window Sizes (24", 30", 36", 48" widths): Direct replacement wins. Mass-produced blackout blinds from retailers cost less than buying raw materials and offer superior mechanical reliability.
- Scenario B: Custom or Oversized Windows: Conversion becomes economically attractive. Custom blackout blinds range $150-400 depending on width and fabricator. If existing hardware is sound, fabric modification saves 60-75% of replacement cost.
- Scenario C: Aesthetic Requirements: If you must preserve a specific pattern or color scheme, heat lamination is your only option.
- Scenario D: Rental Properties: Non-destructive external solutions (rod-mounted blackout curtains) avoid lease violations and security deposit deductions.
Implementation Recommendations
After analyzing fabric modifications, mechanical limits, edge sealing, and thermal risks, here's my professional guidance:
For Most Residential Applications
The "double defense" strategy delivers optimal results: retain the existing blind for daytime light filtering, then install a curtain rod 2-3 inches outward from the window. Hang floor-length blackout curtains that can be drawn at night. This approach:
- Eliminates all light vectors (fabric, edges, top, bottom) simultaneously
- Adds thermal and acoustic insulation
- Preserves the original blind's functionality and warranty
- Costs $60-120 per window (rod + curtains) vs $150-300 for custom blackout blinds
For Budget-Conscious Single-Solution Seekers
If you insist on blind-only modification, prioritize edge sealing over fabric changes. A 90% opaque fabric with effective side channels outperforms 100% opaque fabric with 20mm light gaps. Use DIY PVC angle trim and verify proper installation with a flashlight test before investing in fabric lamination.
For Critical Light Control
Professional systems with U-channel tracks and cassette headboxes are justified. The $200-400 investment ensures reliable performance. Attempting DIY solutions for critical applications often results in failed conversions and wasted material costs that exceed professional system pricing.
The physics of roller blind operation—tight rolling radius, repeated flexing stress, weight sensitivity—demands professional-grade materials and techniques. In 2025, with quality replacement blinds widely available at $50-80 for standard sizes, modification makes sense only for custom dimensions or when aesthetic preservation is paramount.
Leave a comment
This site is protected by hCaptcha and the hCaptcha Privacy Policy and Terms of Service apply.